Table of contents
- Installation
- Code versioning
- Basic concepts
- GIT commands
- Configuring your GIT profile
- Making the first commit
Installation
Before we start talking about GIT itself, I should make it clear that I will not cover installing this tool here, as that depends on your operating system and how you want to install it. However, I will leave here a step-by-step guide from GIT itself; you should access this link git install.
Code versioning
GIT is indeed one of the main and most basic tools to master in the development field, due to its essential role and application. GIT in particular stands out for its practicality because it is open source and free, and it can be applied in any scenario, from a small personal project to a large company developing a tool with dozens or even hundreds of developers. But the main question is: what is version control after all? We can compare version control to a time machine, where we can go back when we make a mistake or move forward when we need to; it is a history of files. It was created by the legendary Linus Torvalds, the father of Linux. Its initial application came as a solution for multiple developers to work on the Linux kernel without one code overwriting the other. This is only possible because GIT works with a method that uses branches (ramifications). We can think of a branch as a timeline, and each record on that timeline is called a commit (milestone). Thus, we can create copies of the main timeline and work on them without changing the original product.
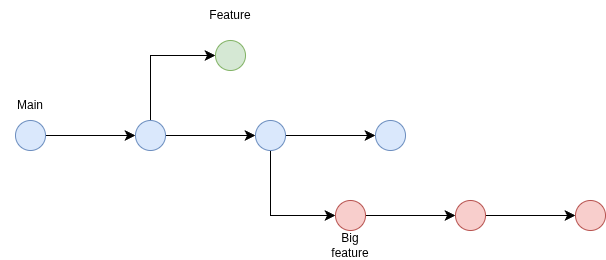
At this point in the text you may be wondering what GIT has to do with GitHub. They are not the same thing! As explained above, GIT is the tool responsible for versioning, while GitHub is one of the platforms for hosting files and code. It is not the only solution on the market; we also have honorable mentions such as GitLab, Bitbucket, SourceForge, GitKraken, and even self-hosted tools like Gitea and Gogs.
Basic concepts
- Repository: This is the place where your code and your .git history record file will be stored. We commonly call it a folder, but get used to calling it a repository from now on.
- Working Directory: This is where we work locally, for example by editing, deleting, or creating subdirectories.
- Staging area: This is where we prepare the changes to be included in the next commit we will make. It is also possible to select only the desired changes within the Working Directory.
- Commit: This is the record of your project captured at a given moment, saving its current state and the files that were added to the Staging Area. They have an ID followed by a hash; this unique identifier makes it easier to track changes and who made them, facilitating the reversal of changes if they "break" the code in a production environment.
- Branch: This is a branch of the repo (repository). As we saw in the initial example, a branch is used to create new features or work on fixes without affecting the code of the main branch, commonly called main or master.
- Merge: Merge is the joining of two different branches, when we combine the code of one with another. Initially, this will be the hardest part to understand and apply. During a merge, conflicts can happen because two different codes are being combined, for example changes within the same part of a code. In these situations, the merge will not be done automatically, requiring the developer to select which part will enter or leave the project's main code.
- Pull Request: A PR is a request to merge one branch into another. This request is reviewed by other developers working on the same code, helping prevent bugs from reaching production environments, for example.
I know it may seem confusing for now. Don’t worry: abstracting a concept without practice is indeed harder, but once we start using the terminal, everything will become simpler.
GIT commands
GIT can be managed in various ways, through the CLI (Command Line Interface), by integration with VSCode, or even through its GUI (Graphical User Interface). Here we will cover CLI usage because it is the most commonly used method and for didactic reasons, so that you can better understand what is happening.
| Command | Explanation |
|---|---|
git config --global user.name "seu nome" |
This command registers your name in the .config file, so your name will be recorded in each commit. |
git config --global user.email "nome@provedor.com" |
As with the name, this saves your email for contact. |
git clone |
This command clones a remote repository into the local repository. |
git init |
This command creates a .git file, starting tracking in the repository it is in. |
git add |
This command will add all the files in the repository to the staging area. |
git add NomeDoArquivo.txt |
Unlike the previous one, this adds only the specified file to staging. |
git commit -m "mensagem" |
This is the commit command; it saves the changes on the branch followed by a message. The message usually explains which change was made. |
git rm NomeDoArquivo.txt |
rm is short for remove; it removes the file from the repository, useful when we do not want to add a file to version control. |
git status |
status shows the current state of the branch, which files are being tracked and which are not. |
git log |
Displays a history of commits, their hashes, and messages. |
git diff |
Shows differences between commits and files. |
git branch |
It simply shows which branch we are working on. |
git branch new_branch |
Unlike the previous one, here we create a new branch. |
git checkout |
checkout is used to switch from one branch to another. |
git merge |
This command combines two branches. |
git reset --hard HEAD~1 |
Undoes the last commit and its changes. |
git remote |
remote deals with remote repository handling. When we create a local repository and want to push it to a remote one, we use git remote add origin www.link.com for the remote repository. |
git fetch origin |
It brings changes from the remote repository without merging them into our local repository. |
git pull |
It fetches changes from the remote repository and combines them with the local repository. |
git push |
Sends changes from the local repository to the remote one. |
You will most likely use GitHub as your hosting platform, but if you choose another platform, you are not wrong in any way. For this reason, I will leave only an official GitHub tutorial on how to configure platform authentication, remembering that you must also create an account. However, here we will keep the examples only for the remote repository.
Configuring your GIT profile
- First open your terminal; this will vary depending on your operating system,
- On Windows, use Win + R and type CMD
- On Mac, press Command (⌘) + Space, type Terminal, and press Enter
- Finally on Linux, use Ctrl + Alt + T.
- Type
git config --global user.name "Your name here", replacing it with your name. - Then type
git config --global user.email "your-email@here.com", and enter your email in that field. - To verify that everything is correct, you can use the command
git config --list. In the end, you can check that your name and email are saved if you did everything correctly. That is it for now. You can configure other things, but I recommend staying with the basic configuration for the moment.
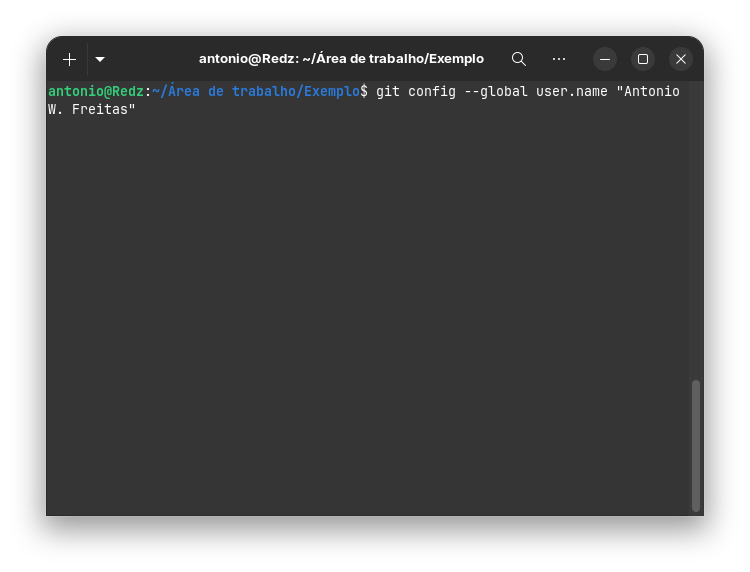
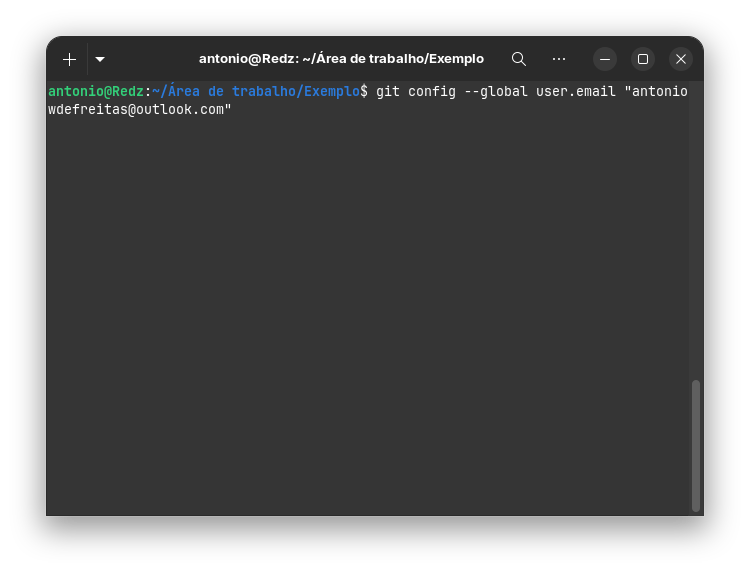
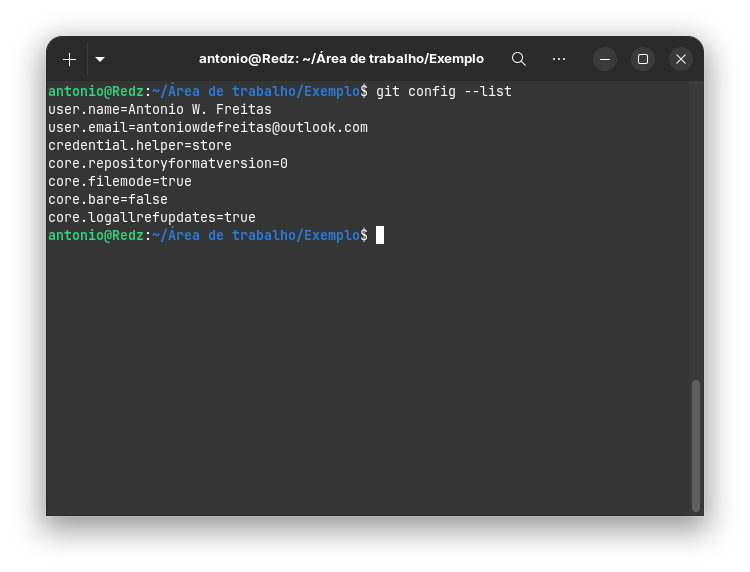
Making the first commit
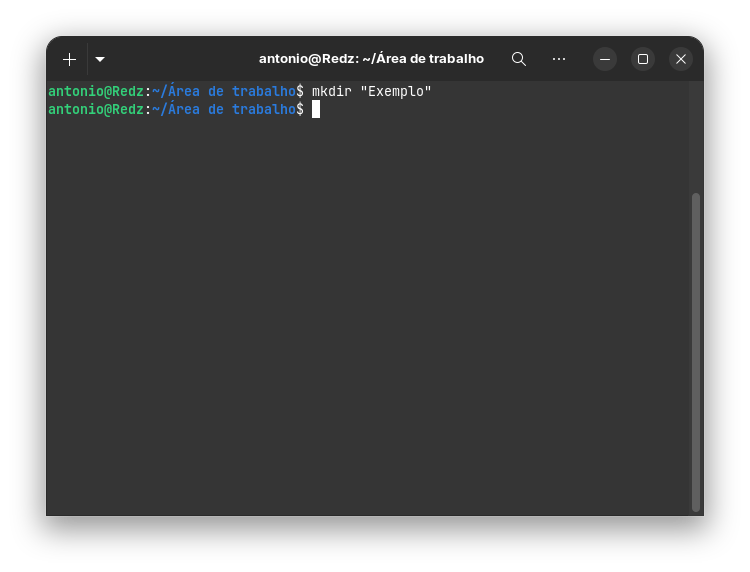
- Create a repository called "Example"; you can create a folder on your desktop or wherever you want.
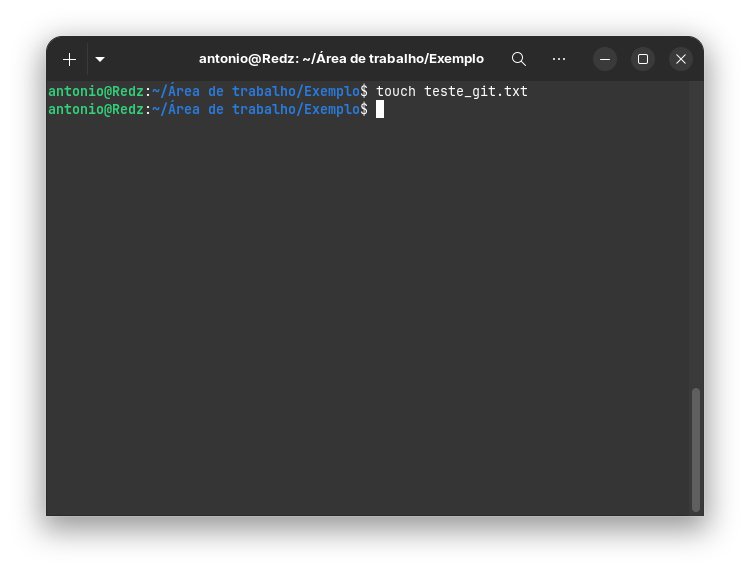
- Inside the "Example" repository, create a file called "test_git.txt".
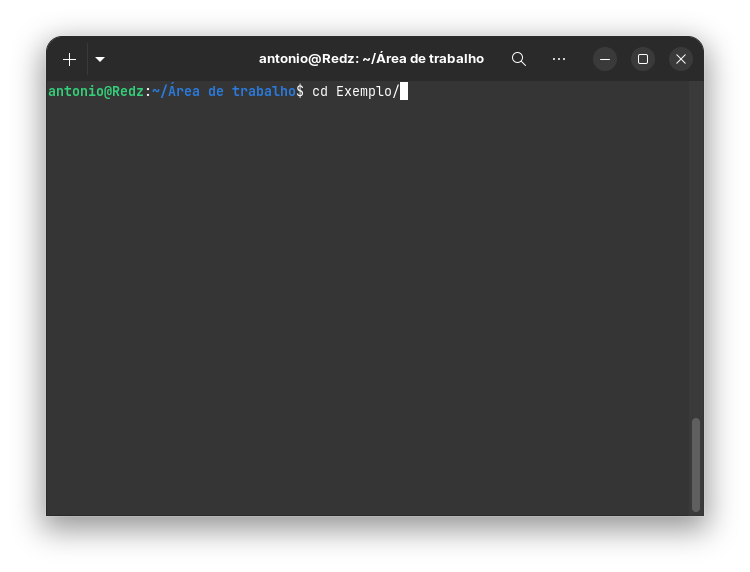
- Now we will enter our local repository. Depending on the operating system you are using, this will change, but it is necessary to open the repository through the terminal. Copy the file path and paste it into your terminal using the command
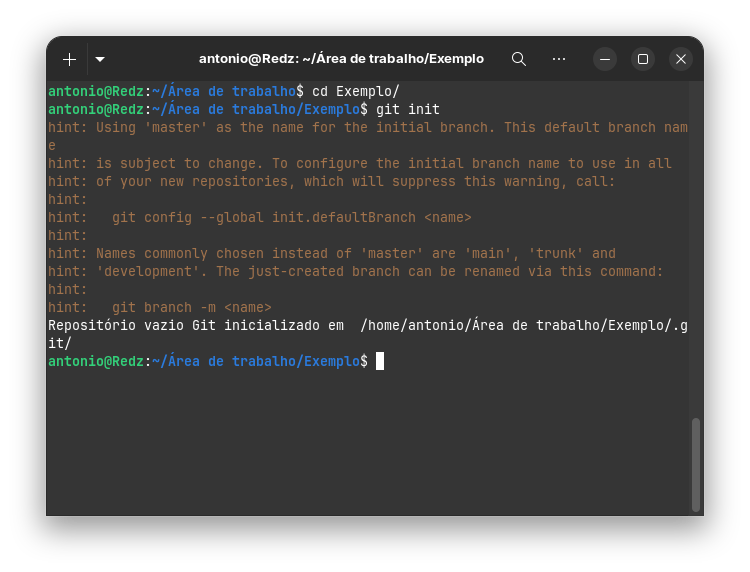
cd Example/. - We will initialize the repository with the command
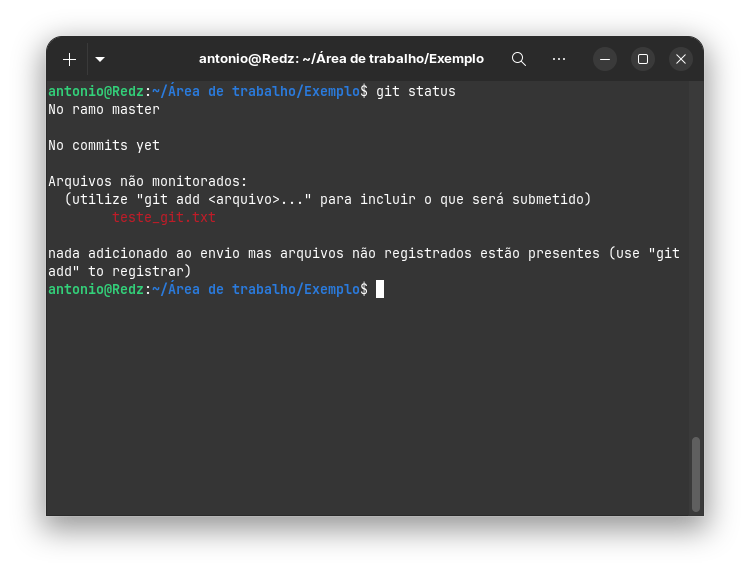
git init. - Now we will check the state of our branch. For this, we will use the command
git status. It will inform us that we are on themainbranch and that we still do not have any commits. Below we have the message:Untracked files: (use "git add..." to include in what will be committed) test_git.txt nothing added to commit but untracked files present (use "git add" to track)
Here GIT itself is telling us what we should do. It is always important to read what the terminal is telling us; most of the time the solution is there. In this case, we can notice that it is warning us that there are files that are not being tracked, and that we should add them withgit addto the staging area so we can make the commit and track that file. - We will run the command
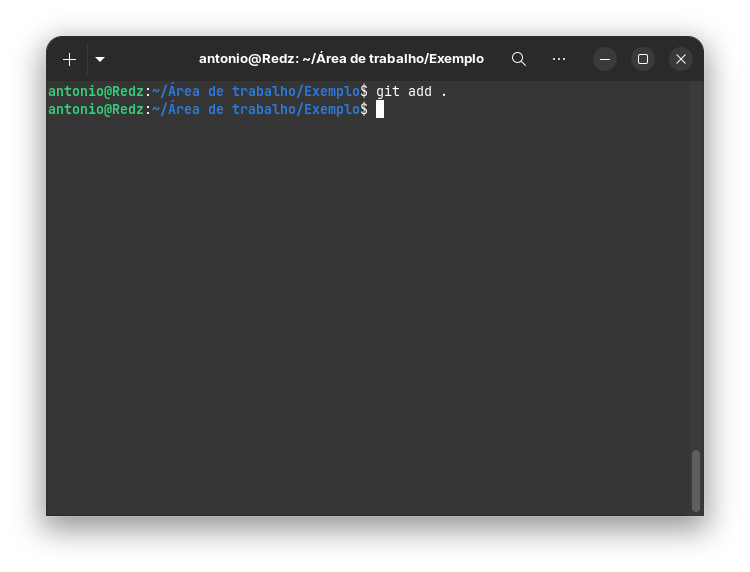
git add .without specifying the test_git.txt file. This way, it will add all the files within that repository. If you use the commandgit add "test_git.txt", it is not wrong, but in that situation it would add only the specified file to staging. - Now that we have added the file to the staging area, we can use
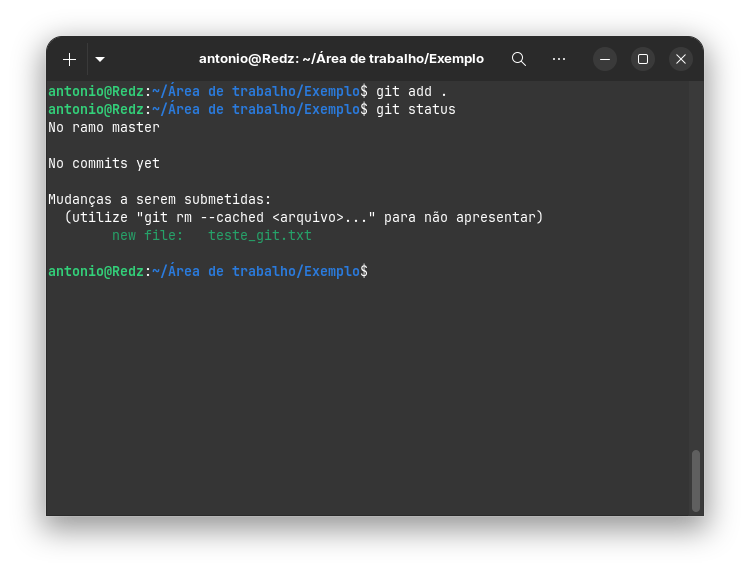
git statusto check the state of our branch:On branch main No commits yet Changes to be committed: (use "git rm --cached
..." to unstage) new file: test_git.txt
Now it tells us that the file test_git.txt is already in the staging area, indicating that there are changes to be committed. In parentheses it also tells us that we can remove the file from the staging area if desired by using the commandgit rm --cached "file name", but we will not do that now. - With everything ready to make our first commit, we will use the command
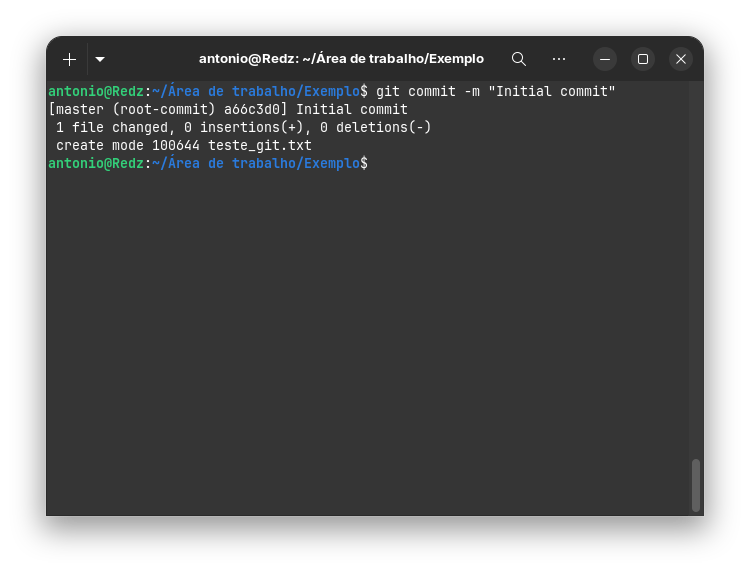
git commit -m "Initial commit". This is a convention to always treat the first commit with this message in order to make it easier for the developer to identify it if they need to read the logs. - Now that you have made your first commit, we can use
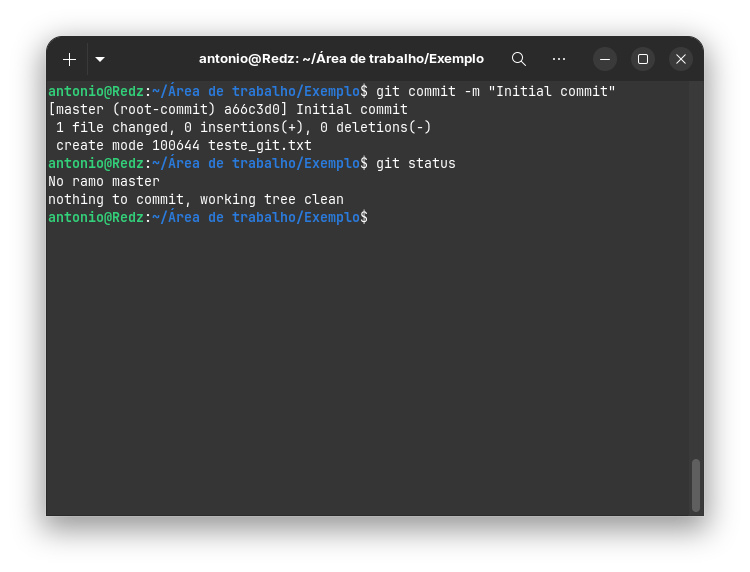
git statusagain, just to check the branch state. It is possible to see that there is nothing to commit, we are on the main branch, and the working tree is clean. There is nothing else to do. - If you want to check the commits made and the existing branches, we can use the command
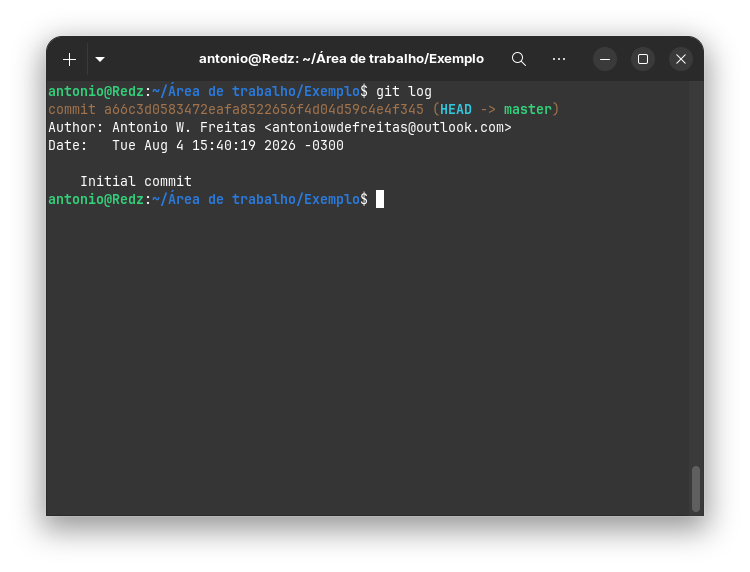
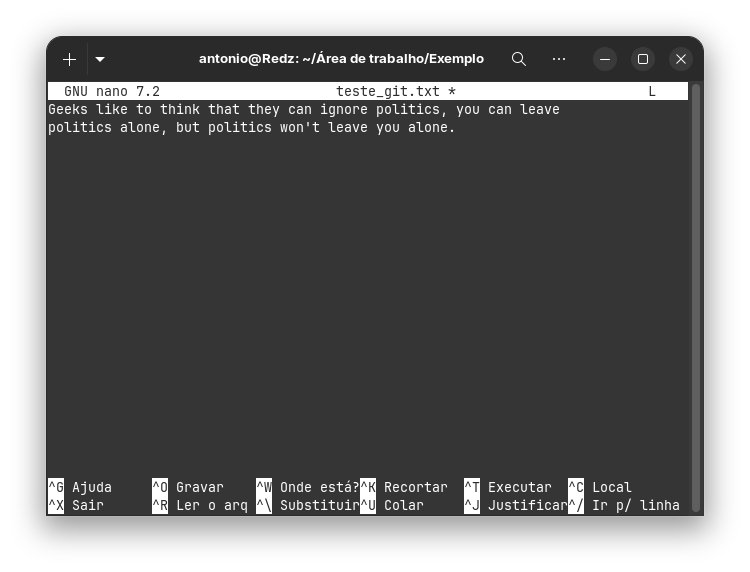
git log. There you can view some information. The first piece of information shown above is the commit hash, which is a unique code made specifically for identification. Below we have the Author, followed by the registered name and email, the date and time the commit was made, and finally the message. - Now we will do an experiment for testing purposes. Let us add a message inside the file; you can type anything. In my case, I will use a
Geeks like to think that they can ignore politics, you can leave politics alone, but politics won't leave you alone
quote from Richard Stallman. - Next we will use the command
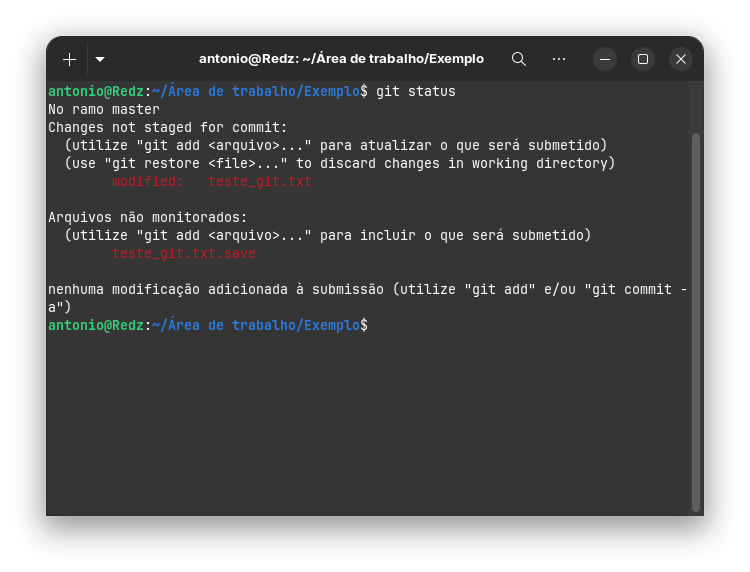
git statusto check whether anything changed. We can see that GIT has already identified a modification. - From here on, I will leave it to you to try to solve the following problem. Think, reread the step-by-step guide, and use logic. Remember the process: add to staging → commit.
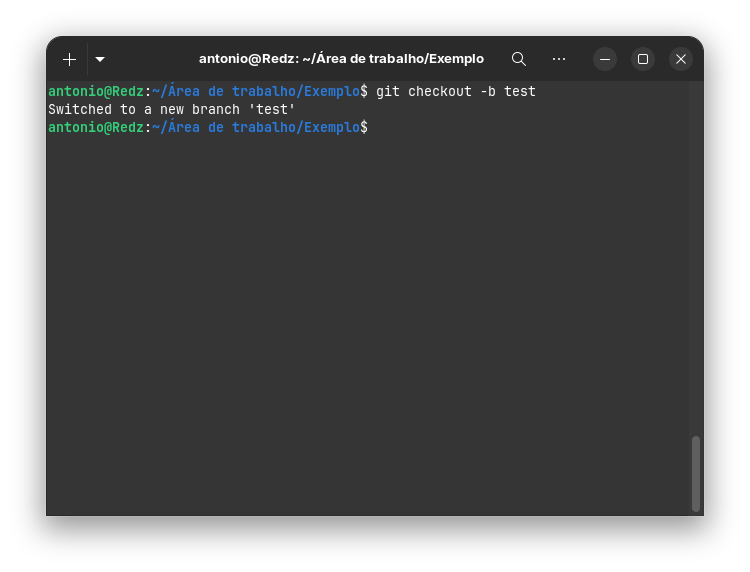
- Now let's experiment with something different within GIT, beyond its function of recording and monitoring files as we saw previously. Let's imagine a different scenario. Suppose another developer is going to create a new feature by adding another quote from another person. Assuming that this other developer has already used the
git clonecommand to have this repository locally on their machine and has already inserted the new text, they should use the commandgit checkout -b test, and then we will have the message showing that we switched to the new test branch. - Let's add the modified file to the staging area with
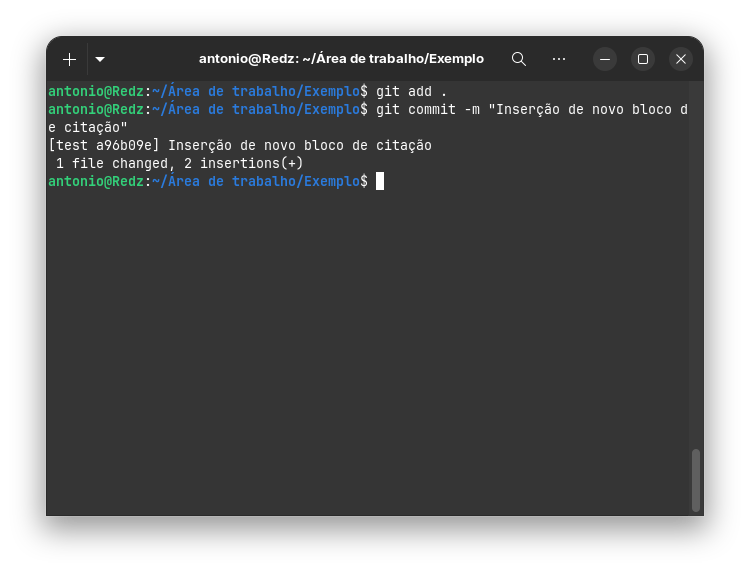
git add .and then make a commit indicating that we inserted the new quote in the file. Remember that the commit message should be clear and concise. We'll usegit commit -m "Add new block of quotes" - Now, we must execute the following commands to merge the two branches:
- To checkout to the main branch (or master): →
git checkout main - To merge the test branch into the main branch →
git merge test

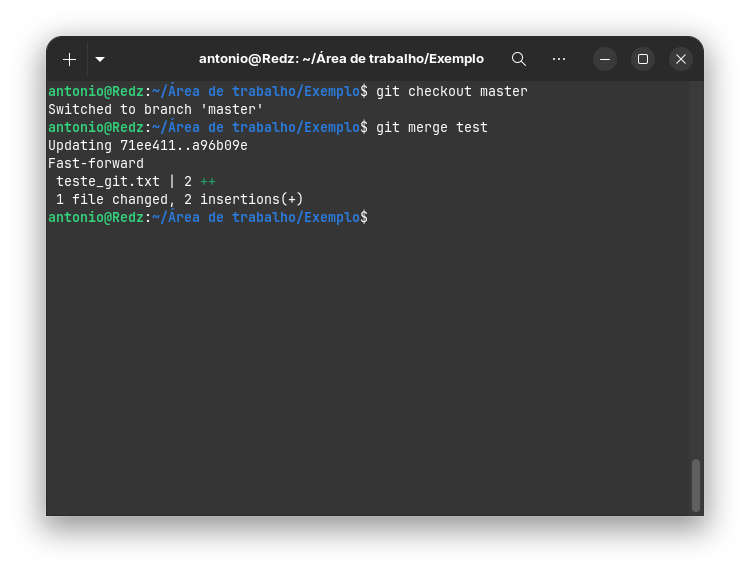
Once this is done, we have reached the end of the entire cycle of creating a new feature, from the creation of the repository to the addition of the code and merging it into the main branch of the project.
- To checkout to the main branch (or master): →
We can visualize our branches this way, where each sphere in the image represents a commit